Note Settings

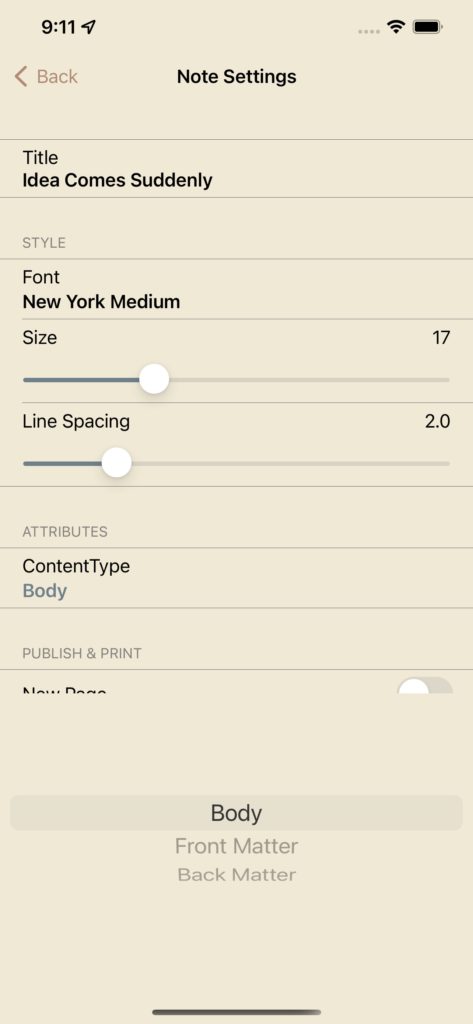
The Text Settings on Notewraps lets you set text settings for a new note. Note Settings lets you change the text settings for a note after you have created it.You can view, change and set certain attributes of an existing note using the settings view of a note. To access note settings tap the settings button as shown in the first screenshot below. You can change the text format settings such as font size and line spacing and set certain other attributes of an individual note. You can customise text format settings such as font size of a note but you cannot change the font of the note once it has been created.
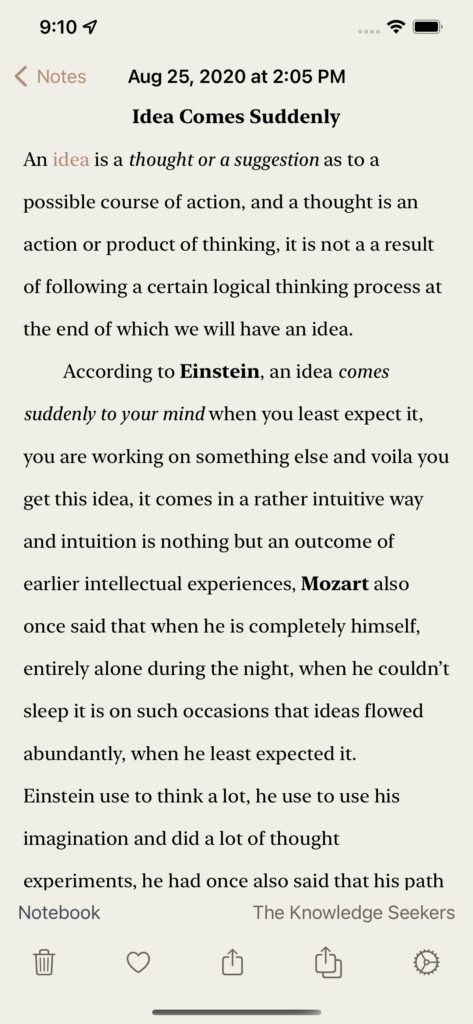
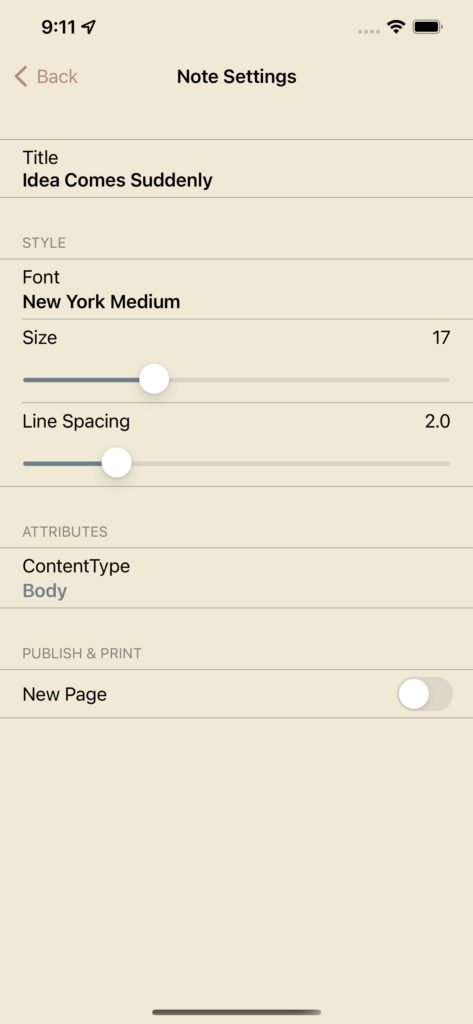
To customise certain attributes of a note go to the note and tap the settings button as shown in the  first screenshot, it will present the Note Settings View which allows you to change the font size and line spacing and set the content type attribute. Simply change the font size or line spacing to what you prefer and set the content type of the note. The content type by default is body and is applicable if the note is added to a notebook and note will become part of the body of the notebook and will get a page number if notebook exported to pdf, e.g. if you are writing a book then you can create a title page and set the content type to front matter, front matter on Notewrap won’t have a page number when you publish the book as pdf. You can similarly customise a photo note which also has a settings button.

Continue ReadingNote Settings

Compose New Note

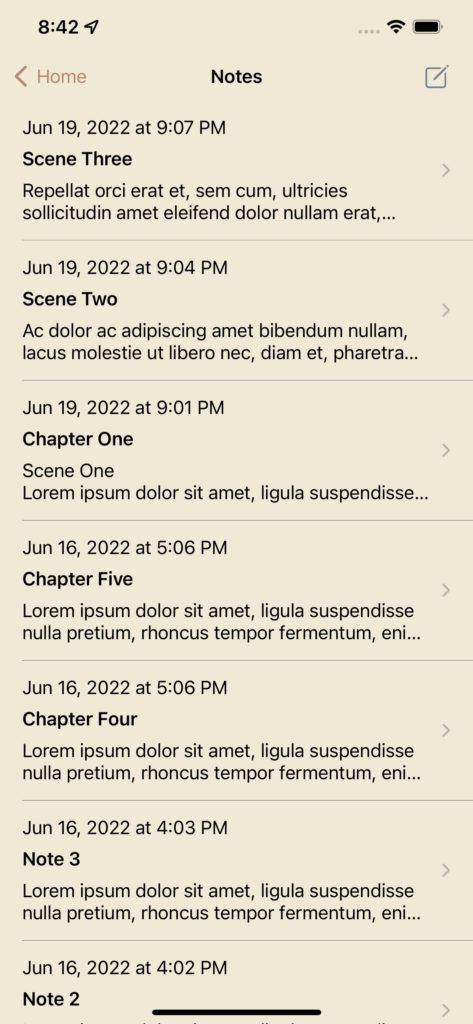
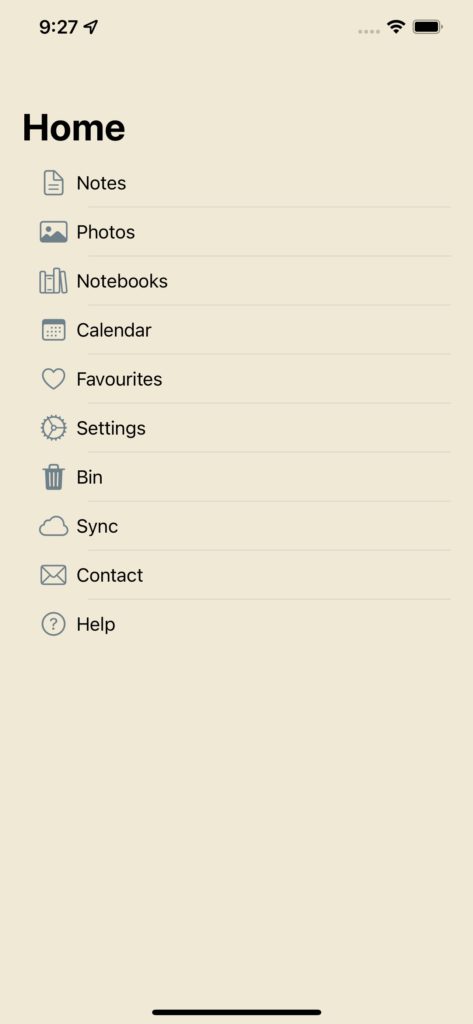
– Tap Notes from the Home screen as shown in screenshot 1.

– Tap Compose icon as shown in screenshot 2  to compose a new note.

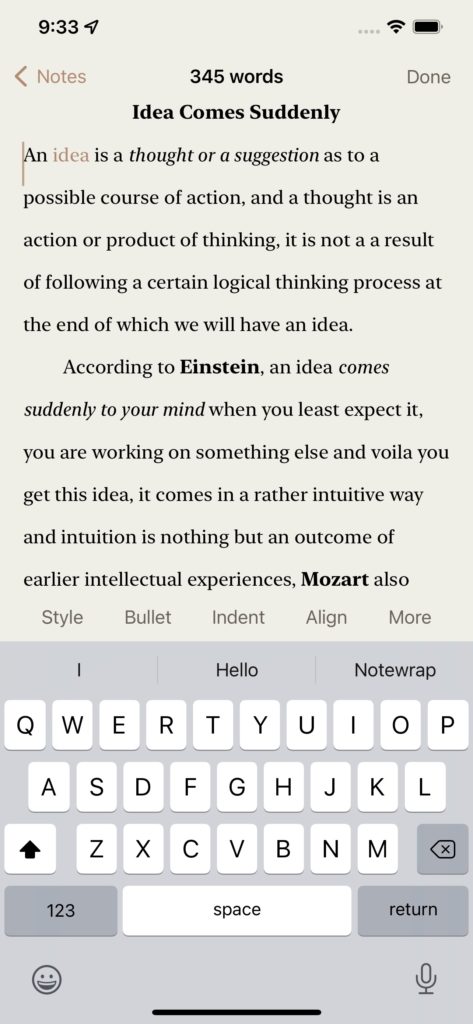
– It will present a new compose note view as shown in screenshot 3, start composing and tap Done when done.

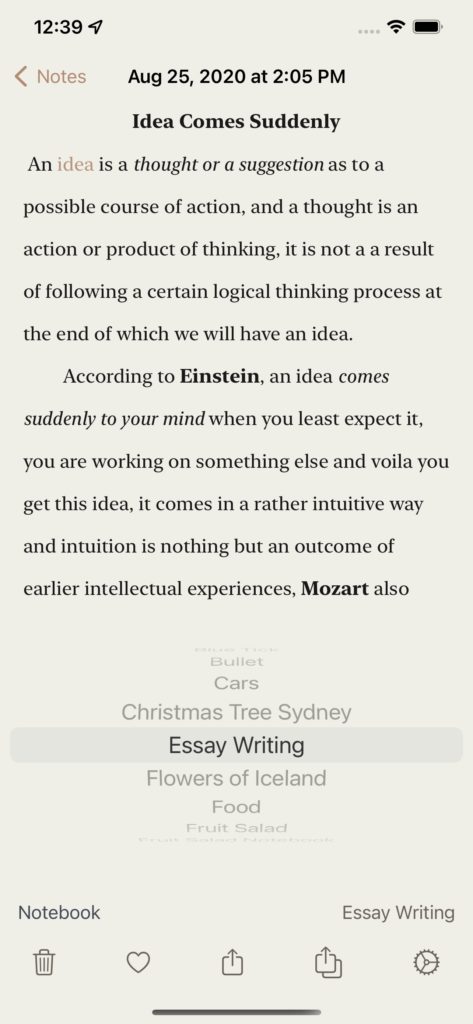
– To add or move note to a notebook, on the bottom of the note there is a notebook button which displays which current notebook the note belongs to or None if it is an orphan as shown in screenshot 4, tap that notebook button and it will display the picker view with the list of notebooks, simply roll the drum to pick a new notebook for the note or pick None to remove the note from the current notebook. Tap outside on the note to hide the picker view.

Continue ReadingCompose New Note

Write a Book, Blog or Report

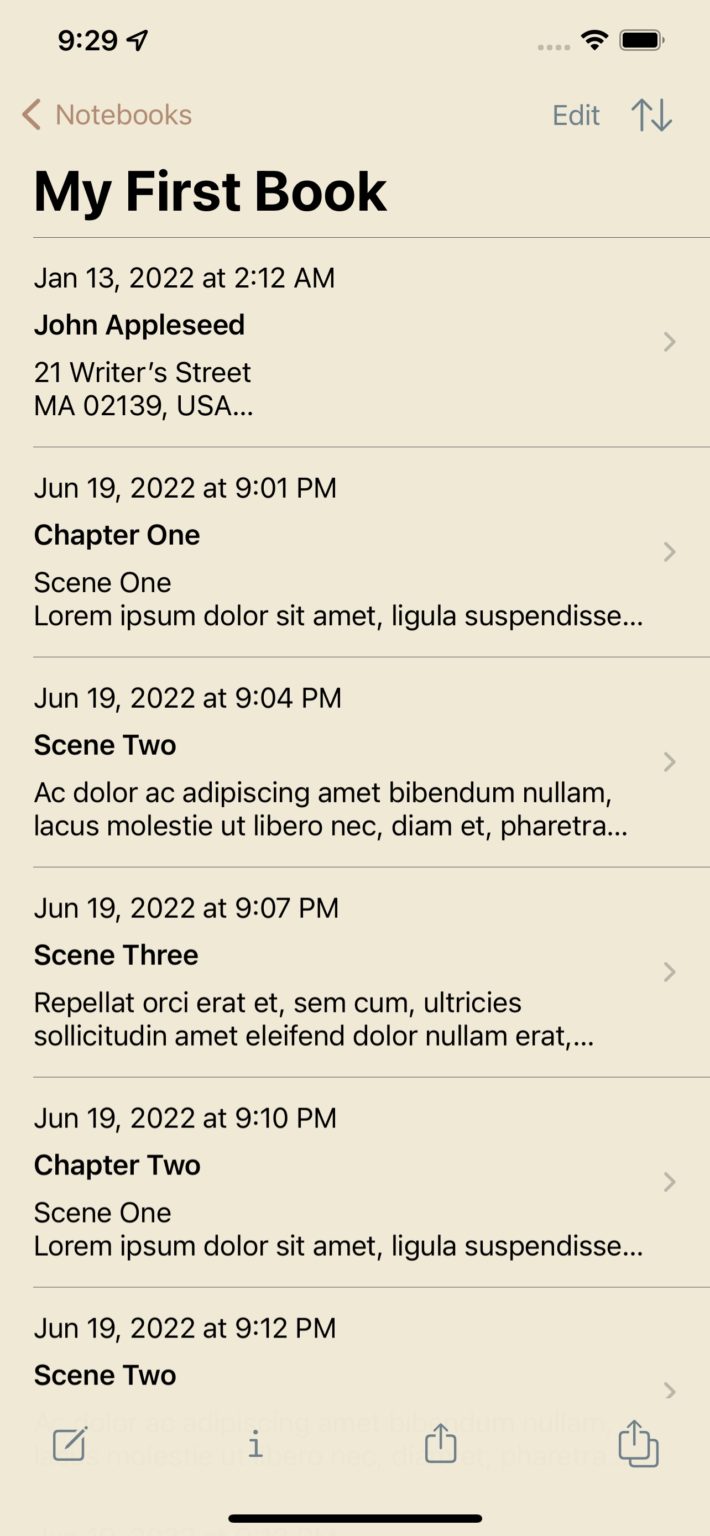
In Notewrap, you can take notes whenever imagination strikes, later add these notes to a notebook and write a book, blog or essay. After you add them, you can convert these notes into scenes and then arrange and combine them into chapters and create a book, blog or essay as shown below.

Add Notes
Each Chapter on New Page
Scenes into Chapters
PDF

– Add notes to a notebook, convert them into scenes that would belong to a chapter and arrange the scenes in the order you want them to appear in the chapters (How to add to & arrange notes in a notebook?).   

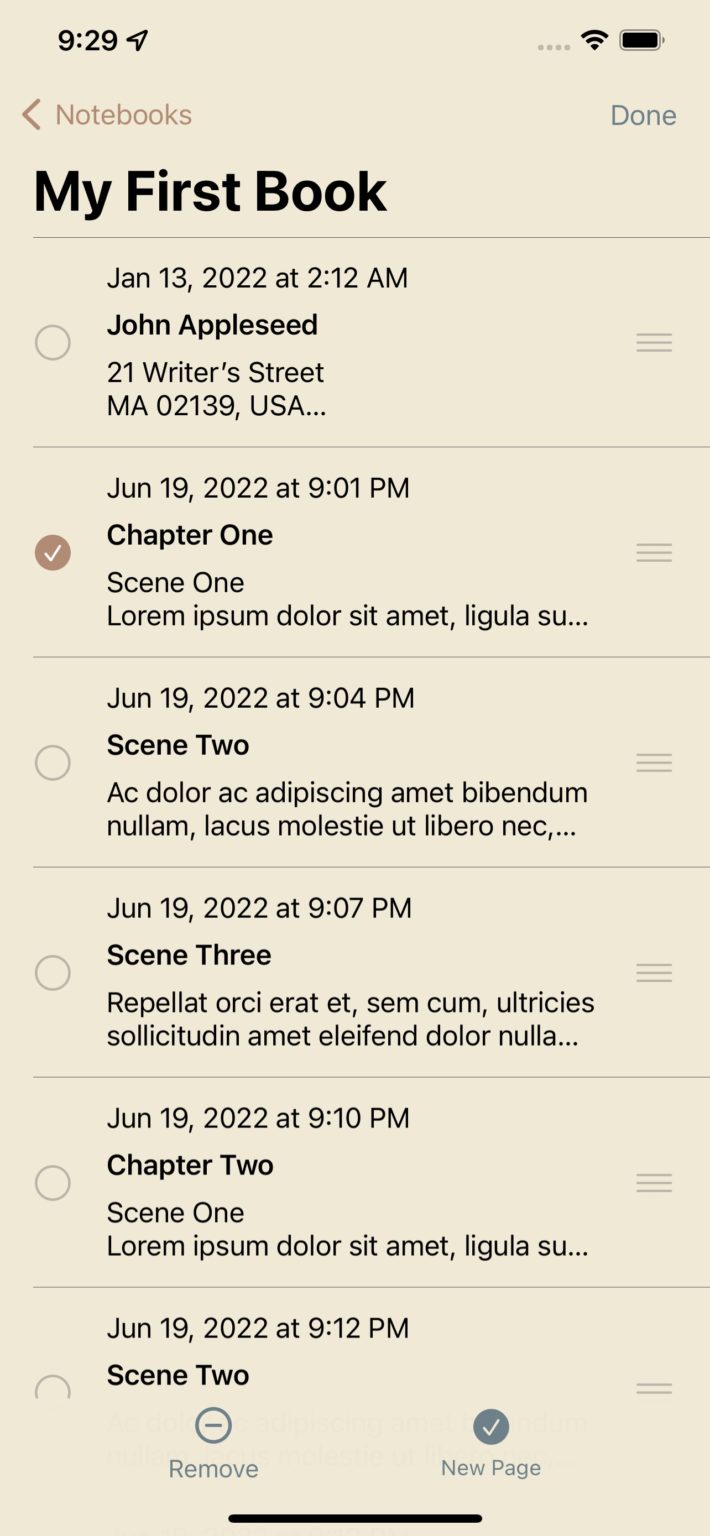
– Each chapter has to begin on a new page, to do that tap edit button on the top right of the screen, then select the first scene of the chapter and then set New Page on by tapping the New Page button as shown in screenshot 2 above. 

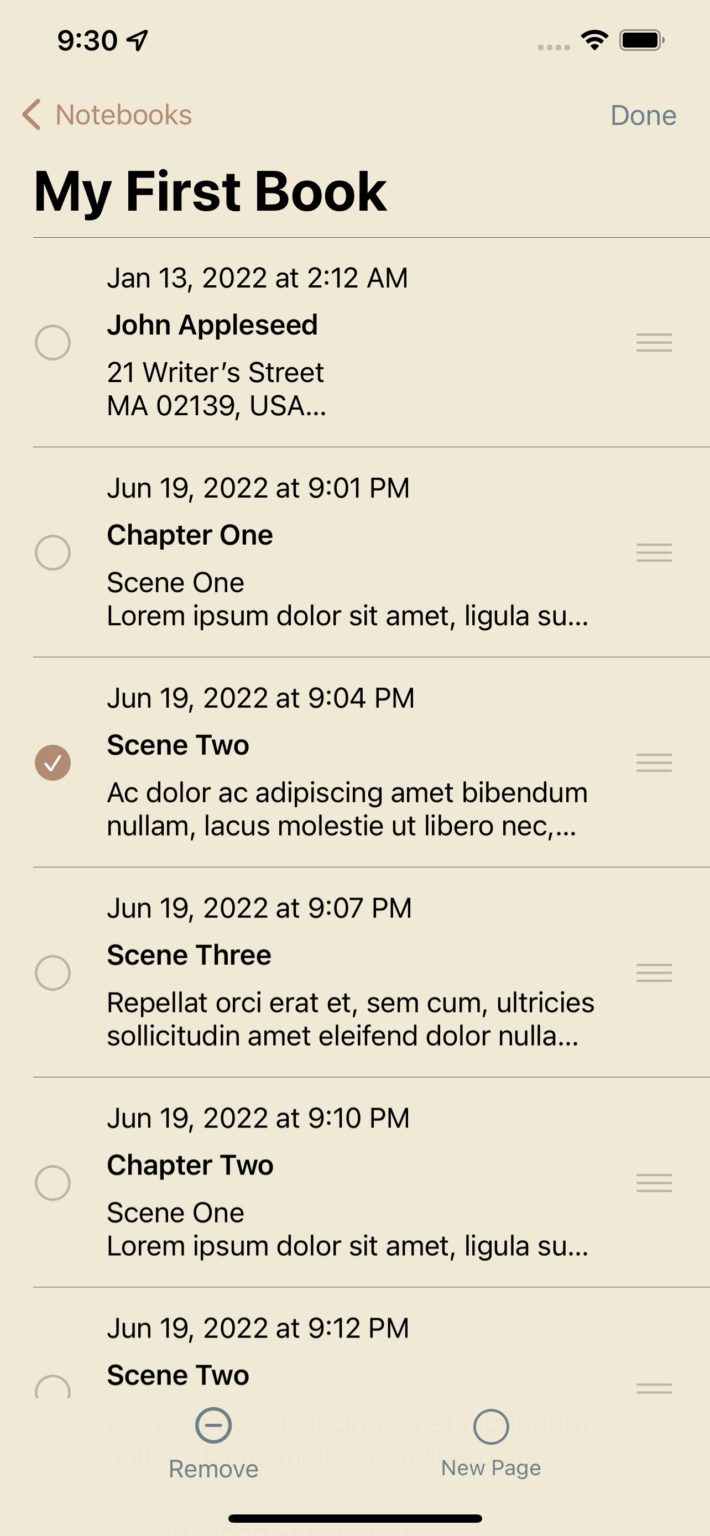
– To combine scenes into chapters, you will have to make sure that they are published & printed continuously and that each scene doesn’t begin on a new page, to do that tap the second scene of chapter one and then set New Page off by tapping the New Page button as shown in screenshot 3 above. Repeat this for remaining scenes in the chapter.  

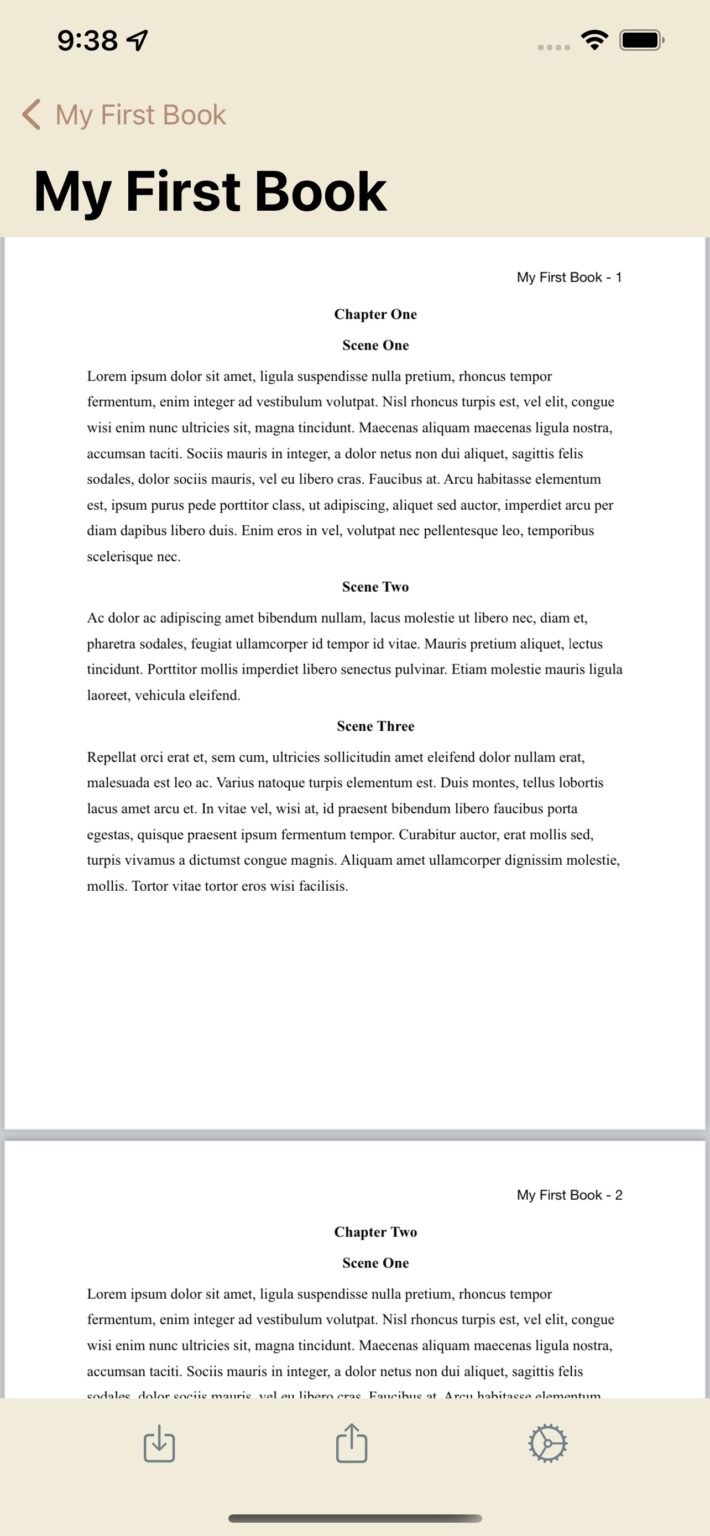
– That’s it, your book, blog or essay is ready to be published & printed, Notewrap will use the settings to create a beautiful pdf for you where it will automatically wrap the scenes into chapters and start each new chapter on a new page. You can also add front and back matter to your book, blog or essay as shown in the screenshots above. Notewrap also lets you export your notes, photos & notebooks into various file formats such as plain text, html, markdown, rtf, pdf etc.

Continue ReadingWrite a Book, Blog or Report